Navy Blue and Teal Living Room Ideas

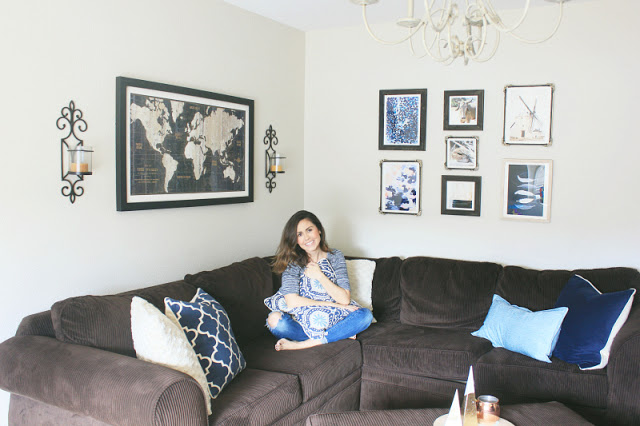
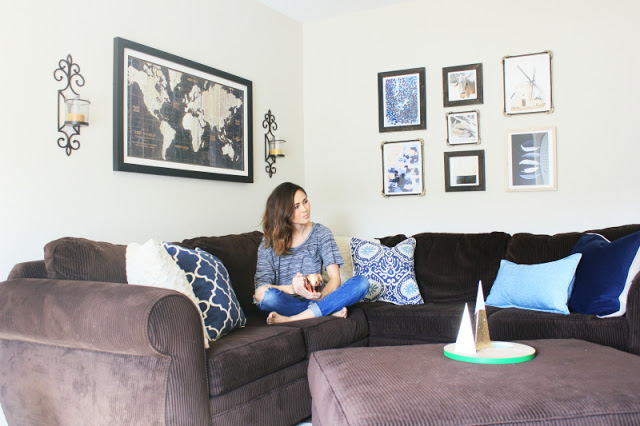
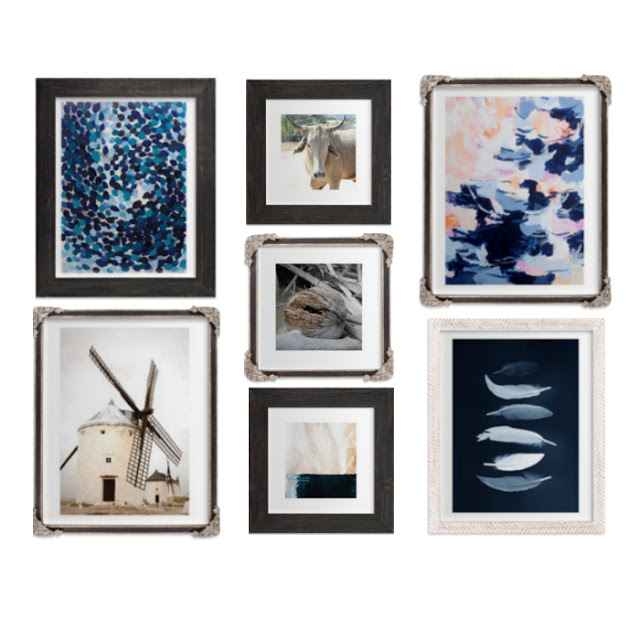
Then, I teamed up with Minted (affiliate) for the artwork. They gave me a $500 credit to purchase art for my new gallery wall. I know, how generous of them, right? THANKS, MINTED! After hours and hours of searching, I came up with the perfect layout for my new navy blue and teal living room. See my original “before” post here.
I wanted to find a way to incorporate a travel theme into my living room so I used two photos that I had taken on a trip to Mexico. The cow and the coconut are mine and the rest are from artists on Minted.com (affiliate).
Techniques for Hanging A Gallery Wall
Once I clicked “order” on the Minted website, all there was left to do was actually hang the prints. Minted made it easy by allowing me to order the prints in the frames, which also included the hardware. I admit, I freaked out a little bit once it came time to hang the prints on the wall.
I’ve seen so many different ways to layout a gallery wall before actually putting the nails in the wall but all of them were time consuming and hard to do with the kids crawling on me. The most popular option was to cut out sheets of paper that were the same size as each print. You then place the cutouts on the wall and rearrange them as needed. You can find lots of tutorials for this method on Pinterest.
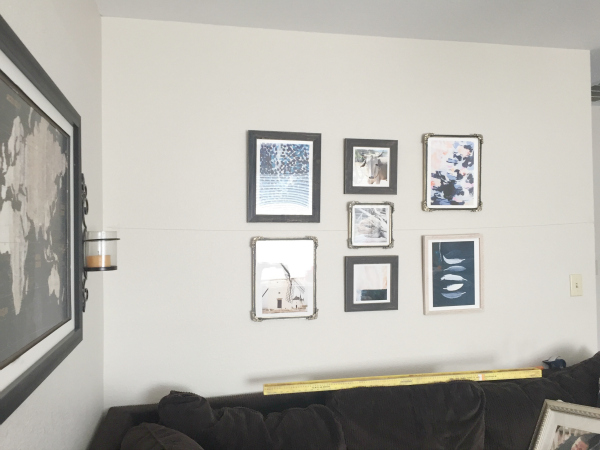
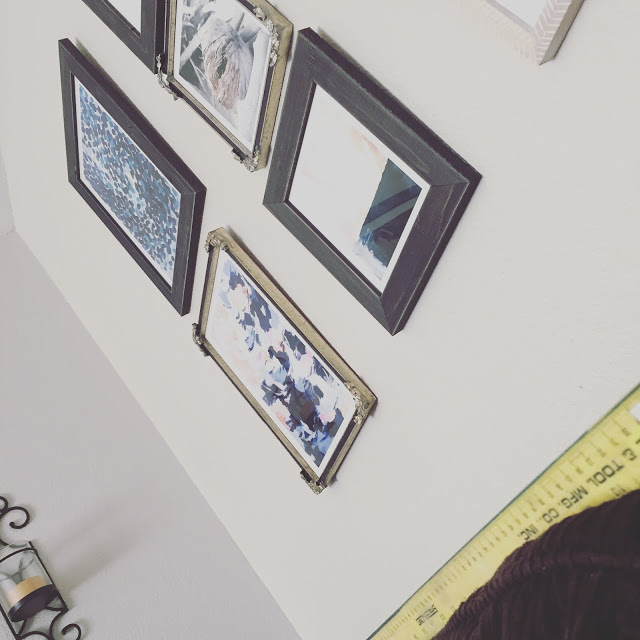
I had already figured out the gallery wall arrangement on my own using PicMonkey but I had to figure out the exact spacing on the wall. I put a piece of string down the center of the wall and pretty much eye-balled it from there (classy, I know). I also used push pins to hand the prints before putting nails in the wall, just to get an idea of how it would all look on the wall (doubly classy). Once I was ready to commit to the placement of the prints, I pulled the push pins out and replaced them with nails.