DIY Custom Christmas Gift Tags You Can Make Without a Cutting Machine
A thoughtfully wrapped gift doesn’t need expensive paper or an elaborate bow. Sometimes the detail that makes it feel special is a tag with the recipient’s name, a favorite photo, or a short handwritten message.
These DIY custom Christmas gift tags are easy to adapt to your wrapping style, and you don’t need a cutting machine. Choose one design for a coordinated stack of presents, or give each family member a different version.
Gather Your Supplies
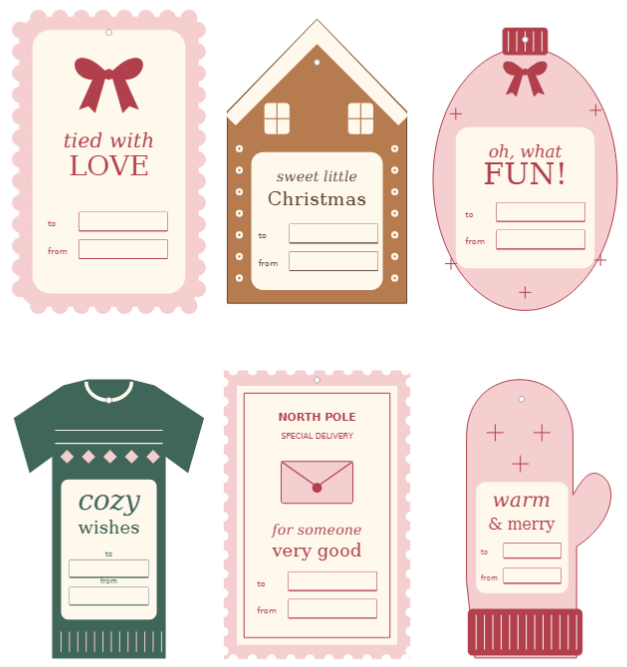
Start with cardstock, scissors, a ruler, a pencil, a hole punch, a pen, glue or double-sided tape, and ribbon or twine. Optional extras include printed photos, alphabet stickers, decorative scissors, and leftover wrapping paper.
For a basic tag, cut a rectangle about 2 by 3½ inches. Trim the top corners if you like the classic luggage-tag shape. Make one sample first, then trace it to create matching tags. Punch the hole far enough from the edge that it won’t tear when you tie the ribbon.
Try a Scalloped Name Tag
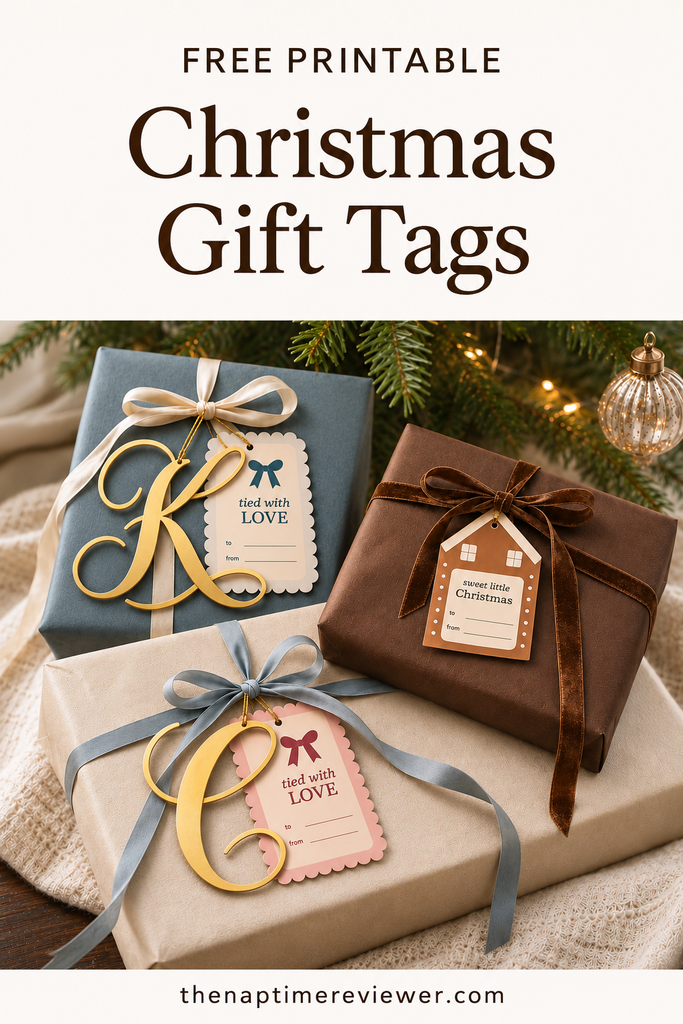
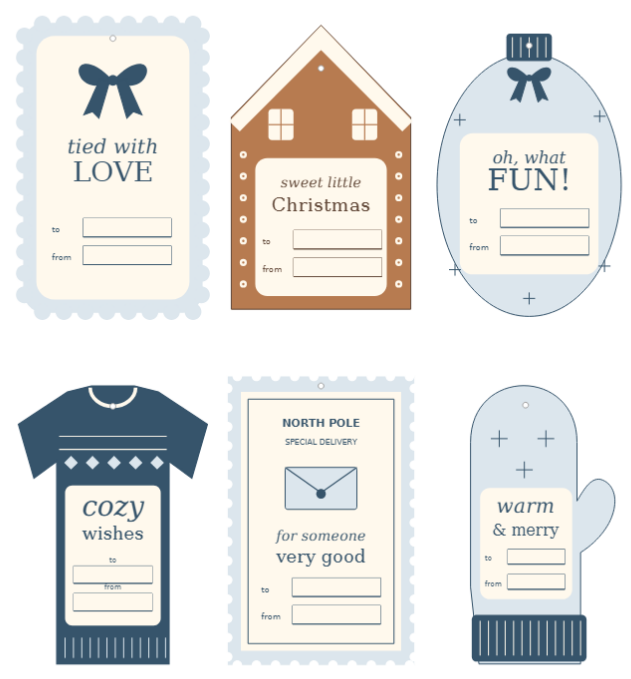
Cut a rectangle from cream or colored cardstock. Draw a gentle scalloped border around the edge, or use decorative scissors if you already own them. Write the recipient’s name in the center, leaving enough empty space to keep it readable.
Add a tiny hand-drawn bow, star, or holly leaf in one corner. A single accent color keeps the design easy to repeat. Let the ink dry fully before stacking the tags so the names don’t smudge.
Make a Photo Gift Tag
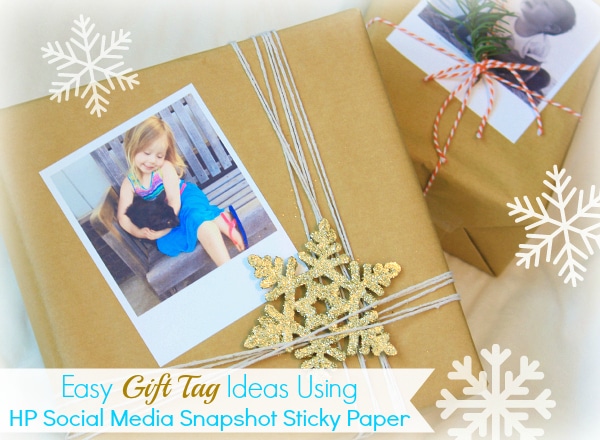
Print a small photo of the recipient and glue it onto a slightly larger cardstock rectangle. Leave a border around the image and write “To” and “From” on the back.
Childhood photos can make these especially fun for a family gift exchange. For younger children, a current photo also makes identifying their presents easier. Keep the hole in the cardstock border so you don’t punch through someone’s face.
Layer an Oversized Initial
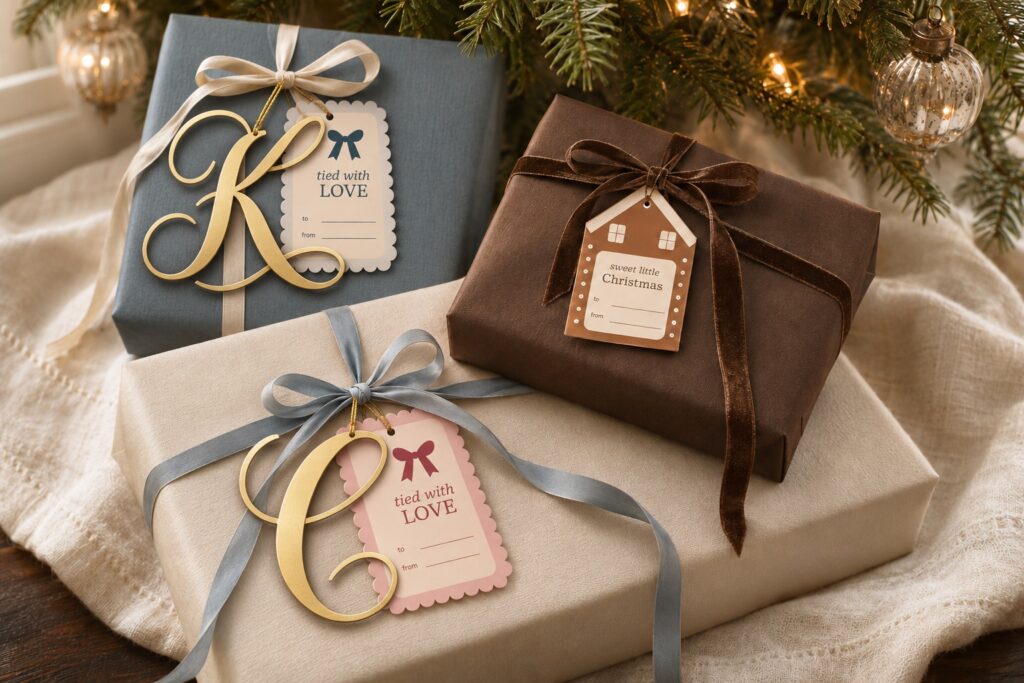
Cut a large initial from contrasting cardstock and attach it to a plain tag. Sketch the letter lightly in pencil first, or print a large letter as a cutting guide. Write the full name underneath when several people share the same initial.
A narrow strip of wrapping paper behind the letter connects the tag to the package. Use scraps from your wrapping session so you don’t need a separate patterned paper purchase.
Finish With a Personal Note
Tie the tag onto the package with ribbon, yarn, or twine. Before attaching it, add a sentence to the back: a favorite memory, a little clue about the gift, or something you appreciate about the recipient.
That tiny message is what turns a practical label into a keepsake. Make a few blank extras while your supplies are out, and your last-minute gifts can feel just as personal as the first ones you wrap.