Solar-Ready Homes: The Roof-to-Panel Checklist for Smarter Energy Planning
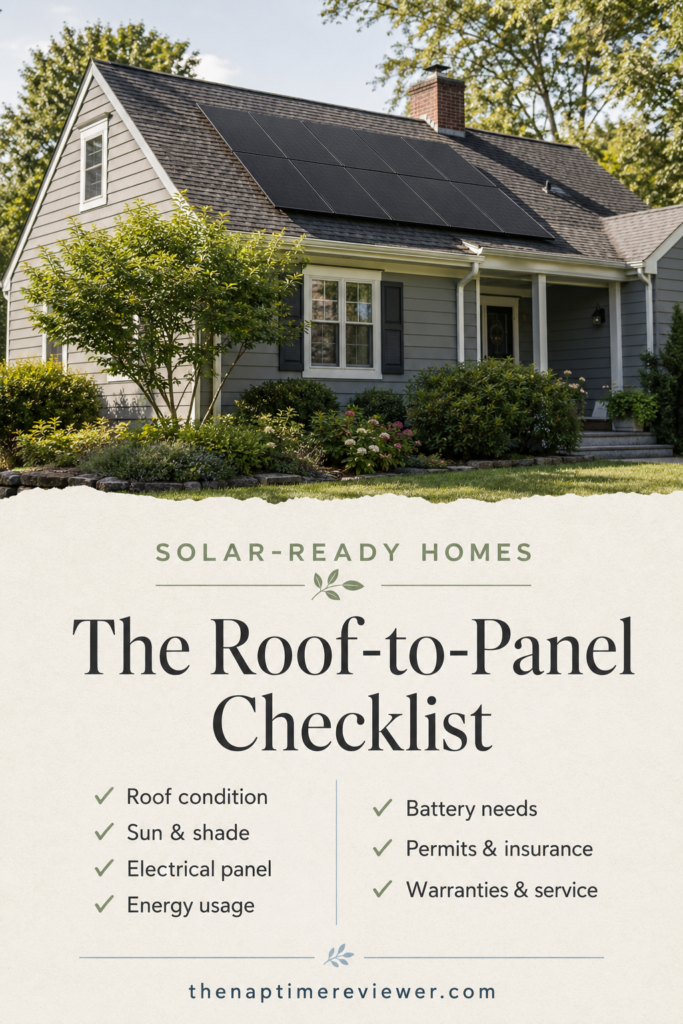
Installing solar is a long-term home improvement decision. While panel efficiency and equipment brands matter, the strongest projects begin with a realistic review of the roof, electrical system, sunlight exposure, and household power needs. Talking with qualified solar roofers early can also help homeowners identify roof concerns before equipment is scheduled for installation. A home may have enough open roof space to hold panels without being fully solar-ready. A truly prepared home has a roof with useful remaining life, a safe electrical setup, manageable shade, and a clear plan for permits and ongoing maintenance. Working through these details before choosing equipment can make the process smoother and help the system fit how the household actually uses electricity.
Why Solar Readiness Matters
Solar equipment is designed to remain in place for many years. If a roof replacement, electrical panel upgrade, or major tree-trimming project is likely soon, doing that work first may help avoid removal and reinstallation costs. Early planning also creates room to consider future needs, such as an electric vehicle, heat pump, pool equipment, workshop tools, or an expanded household. Readiness is also about setting practical expectations. Production estimates depend on roof orientation, shade, local weather patterns, system size, and utility rules. A careful assessment makes it easier to compare proposals based on sound assumptions rather than selecting a system solely because it has the lowest initial quote.
Step 1: Check the Roof Before Installation
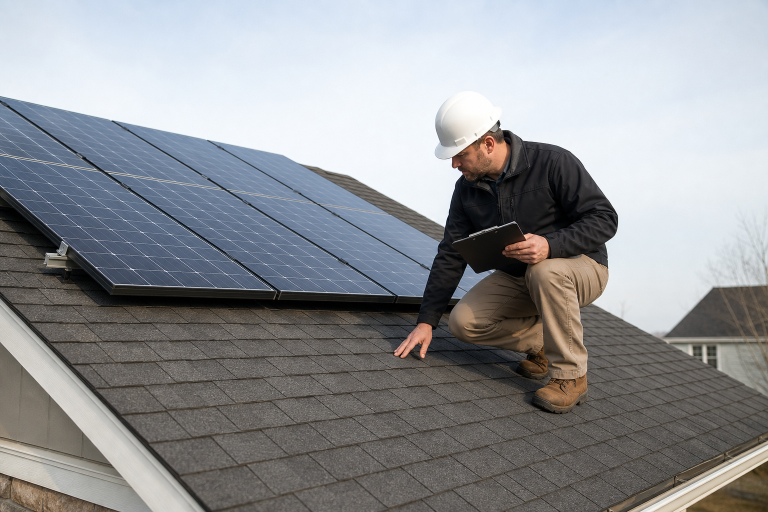
Start with the roof’s age, material, slope, and overall condition. From the ground, look for cracked or curling shingles, loose flashing, staining, sagging sections, leaks, or visible damage around vents and chimneys. Soft decking and hidden moisture may require a closer inspection. Ask whether the roof has sufficient remaining useful life to support a long-term solar system. Re-roofing after installation may require that panels and mounting equipment be removed, stored, and reinstalled. If the roof is nearing the end of its service life, repair or replacement may be the more practical first step. A professional inspection is especially worthwhile when damage is difficult to see safely.
Step 2: Study Sunlight and Shade
Sunlight is not the same across every part of a roof. Trees, chimneys, dormers, plumbing vents, nearby buildings, and even future construction can affect production. Morning shade may have a different impact than late-afternoon shade, and leaf growth can change a roof’s solar exposure between seasons. Review the site for the full year rather than judging it on a single bright day. Useful options may include trimming vegetation, placing panels on another roof section, or using panel-level equipment that can reduce the effect of shade on one section of the array. Any tree work should be planned responsibly and in accordance with local rules.
Step 3: Review the Electrical System
Your main electrical panel must have a safe capacity for the required breakers, disconnects, and solar-related equipment. Older homes may have outdated components, limited service size, crowded breaker spaces, or wiring that needs attention before installation. An electrician or installer should evaluate the panel rather than relying on a visual guess. For new construction or major renovations, it can help to plan for roof documentation, conduit routes, and future electrical capacity. The Department of Energy’s PV-ready guidance is a useful reference point for thinking through these details before the roof and walls are closed up.
Step 4: Measure Household Energy Use
Gather at least 12 months of utility bills when possible. A full year captures seasonal changes in air conditioning, electric heat, holiday use, pool pumps, dehumidifiers, and time spent at home. One unusually high or low month rarely tells the complete story. Also, list appliances and lifestyle changes expected in the next few years. An electric vehicle, a heat pump water heater, an induction range, a home addition, or a new workshop can substantially change electricity demand. Note which major loads run during the day and which run at night, since that information can influence solar sizing and whether storage deserves consideration.
Step 5: Decide Whether Battery Storage Fits
A battery can store solar energy produced during the day for later use, depending on the system design. It may be valuable for homeowners who want selected backup circuits during outages, want to use more solar power after sunset, or face utility pricing that makes evening energy especially important. However, batteries are not required for every solar project. Compare whole-home backup with a smaller plan that supports essential circuits, such as refrigeration, internet equipment, lights, medical devices, or a garage-door opener. Ask about installation location, ventilation and clearance requirements, warranty coverage, monitoring, maintenance, and eventual replacement planning.
Step 6: Check Local Rules and Utility Requirements
Before approving a project, confirm local permitting, electrical inspections, zoning requirements, and any homeowners’ association restrictions. Your utility may also have specific interconnection procedures, meter requirements, export-credit policies, and approval timelines. These details can affect the final system design and the financial assumptions in a proposal. Request current utility program details in writing, particularly when estimates include export credits or rate assumptions. For broader updates on solar policy, research, and programs, homeowners can review the Department of Energy’s solar news and program updates.
Step 7: Review Insurance and Warranty Details
Notify your insurance provider before work begins and ask what the policy covers. Confirm treatment of panels, inverters, batteries, roof penetrations, wind or hail damage, and possible changes to replacement-cost coverage. Keep a copy of the system design, permits, inspection approvals, manuals, and photographs with other home records. Read equipment warranties separately from artistry warranties. Equipment coverage may come from the manufacturer, while the installer may cover roof penetrations, wiring, and installation quality. Ask who handles a claim if the installer changes ownership or ceases operations.
Step 8: Prepare for Installation Day
- Clear access to the attic, electrical panel, driveway, and work areas around the home.
- Move fragile belongings away from walls or ceilings near the work zone.
- Secure pets and make household members aware of expected work hours and noise.
- Confirm where ladders, equipment, and temporary materials will be placed.
- Ask how weather delays, roof repairs, inspections, and schedule changes will be communicated.
Questions to Ask Before Signing a Solar Agreement
- Who is responsible for roofing, electrical work, permits, inspections, and utility interconnection?
- What happens if the roof needs repairs after the project begins?
- How was projected production calculated, and what assumptions were used?
- Which equipment brands and model numbers are included?
- Who provides monitoring, service, and warranty support after installation?
- What are the cancellation, transfer, maintenance, removal, and replacement terms?
Common Planning Mistakes to Avoid
- Installing panels on a roof that will soon need replacement.
- Ignoring seasonal or late-day shade because the roof is sunny at midday.
- Sizing a system around a single month of utility use.
- Assuming battery storage is necessary without defining backup goals.
- Skipping insurance, permit, utility, and warranty reviews.
- Choosing solely on the lowest price without comparing scope and service terms.
A Simple Solar-Ready Checklist
- Roof inspected and documented.
- Shade reviewed through the seasons.
- Electrical panel evaluated.
- Recent utility bills and future loads considered.
- Battery needs to be discussed.
- Utility, permit, insurance, and warranty requirements confirmed.
- Installation access and post-installation service planned.
Final Thoughts
A solar-ready home is more than simply having an empty roof available for panels. It combines sound roof construction, adequate electrical capacity, clear access to sunlight, realistic energy goals, and a practical plan for long-term maintenance and system performance. Evaluating roof condition, shading, orientation, local regulations, and household energy consumption before installation can help ensure the system is properly sized and positioned. It is also important to consider future energy needs, such as electric vehicles or home additions, that may increase electricity demand over time. By addressing these factors before installation, homeowners can reduce the risk of unexpected costs, avoid preventable delays, and build a reliable solar energy system that supports their household’s power needs efficiently throughout 2026 and for many years ahead.